
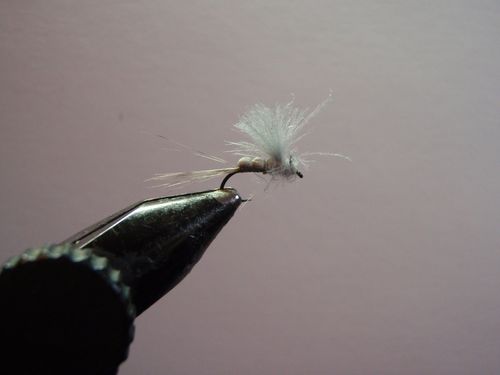
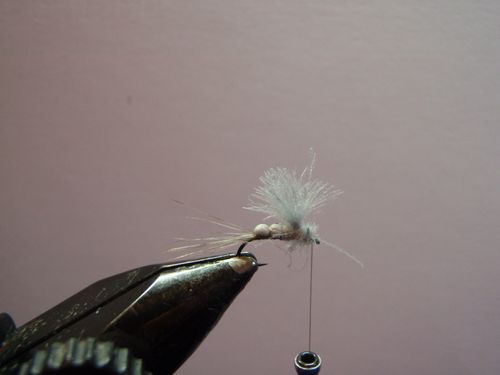
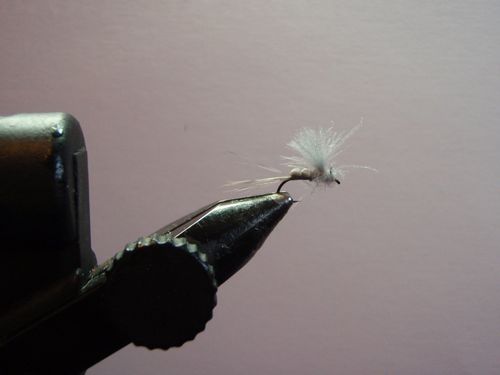
F-Plus Fly

Based on the popular European F Fly pattern this modified version, designed by Loren Williams, addresses some of the parent fly’s deficiencies. The result is a pattern that casts and floats well and has an accurate ‘buggy’ looking profile that trout and grayling really like.
The recipe listed below is for the generic ‘Adams’ version of the fly, however, as stated above the colors of this pattern are easily modified to match those of a specific insect.
Materials
Hook: Tiemco TMC 102Y - size 17
Thread: UTC Ultra 70 – gray brown
Tail: Coq de Leon saddle hackle – medium pardo
Body: 2mm foam – light gray
Wing: CDC feathers – blue dun
Thorax/Legs: CDC feather fiber dubbing – blue dun
Hook: Tiemco TMC 102Y - size 17
Thread: UTC Ultra 70 – gray brown
Tail: Coq de Leon saddle hackle – medium pardo
Body: 2mm foam – light gray
Wing: CDC feathers – blue dun
Thorax/Legs: CDC feather fiber dubbing – blue dun
Tying Instructions
Step 1.
Insert the hook in the vise and attach the thread behind the hook eye leaving an approximately 4-inch long thread tag.
Step 2. Double the thread tag over and secure. Continue wrapping back over the doubled/looped thread towards the rear of the hook, keeping the tag on top of the shank, and ending just before the bend of the hook.
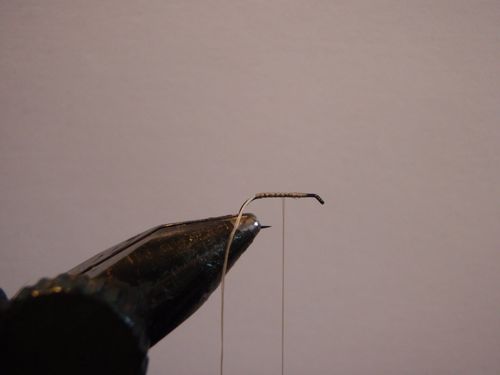
Step 3.
Return wrap the thread back to the 2/3 point of the hook.
Step 4.
Pinch and snip 10 Coq de Leon (CdL) fibers off the feather making sure to keep the tips aligned.
Step 5. Tie in the CdL ‘bundle’ so that the fibers create a tail extending back approximately one hook shank in length.
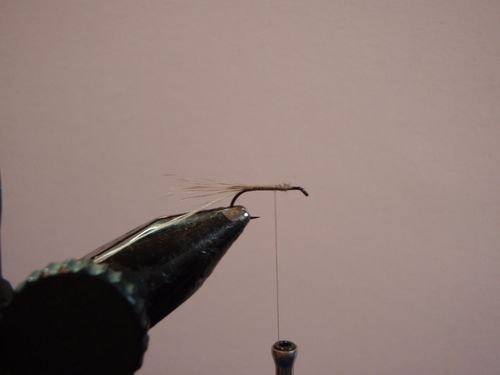
Step 6.
Bind the butt ends of the fibers to the top of the hook shank ending approximately 1/3 back from the eye. Clip the excess fibers flush.

Step 8.
Tie the thread tag down with several thread wraps and clip away the excess.
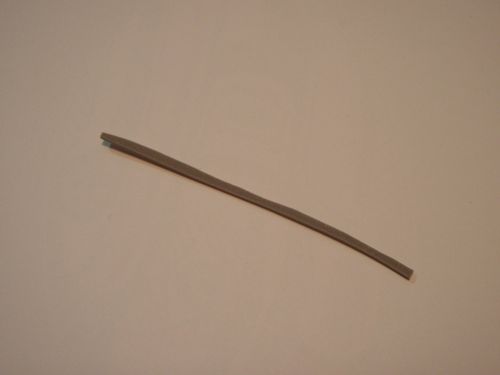
Step 9. Cut a length of 2mm foam equal in width to approximately 1/3 the hook gap.

Step 10.
Tie the foam in at approximately the 1/2-way point on the hook shank and proceed to wrap the thread rearward covering the foam with a layer of thread.
Step 11.
Next, wrap the thread forward (towards the hook eye) three turns. Pull the foam forward and tie it down with two tight thread wraps forming a small foam ‘bulge’ on the hook shank.
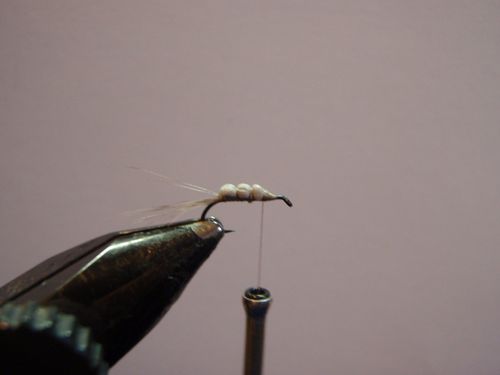
Step 13.
Make a few additional thread wraps at the last segment and then cut away the excess foam.
Step 14.
Select 4 CDC feathers (you may need as many as 6 feathers on larger patterns) and even the tips.
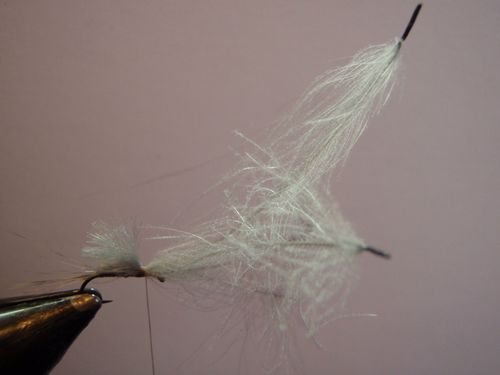
Step 15.
Measure the wing equal to the length of the hook shank and tie the wing in in front of the last foam ‘bulge’.
Step 16.
Pull the butt ends up and back, making several thread wraps immediately in front of the wing to lock it in place. Trim the excess butt ends off the CDC feathers.
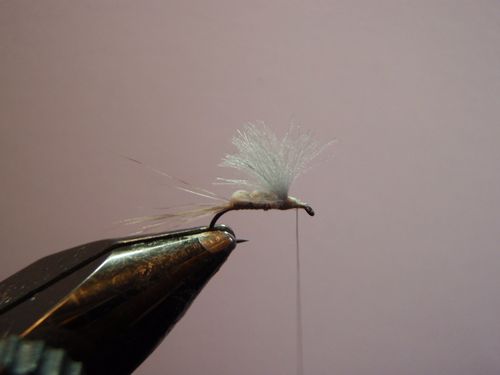
Step 17.
Pull the excess butt end fibers from the CDC feathers and dub onto the thread.
Step 18.
Palmer the dubbing, first making 2-3 wraps behind the wing and then 2-3 wraps in front of the wing. Make sure not to crowd the eye of the hook.
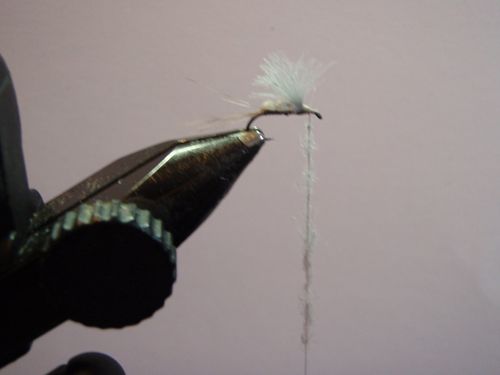
Step 19.Pull all of the CDC fibers clear of the eye, wrap a small thread head and whip finish. Do not cement the head as the adhesive liquid tends to run into CDC and gum it up.
Your F-Plus is now complete and you are ready to head out On The Water!